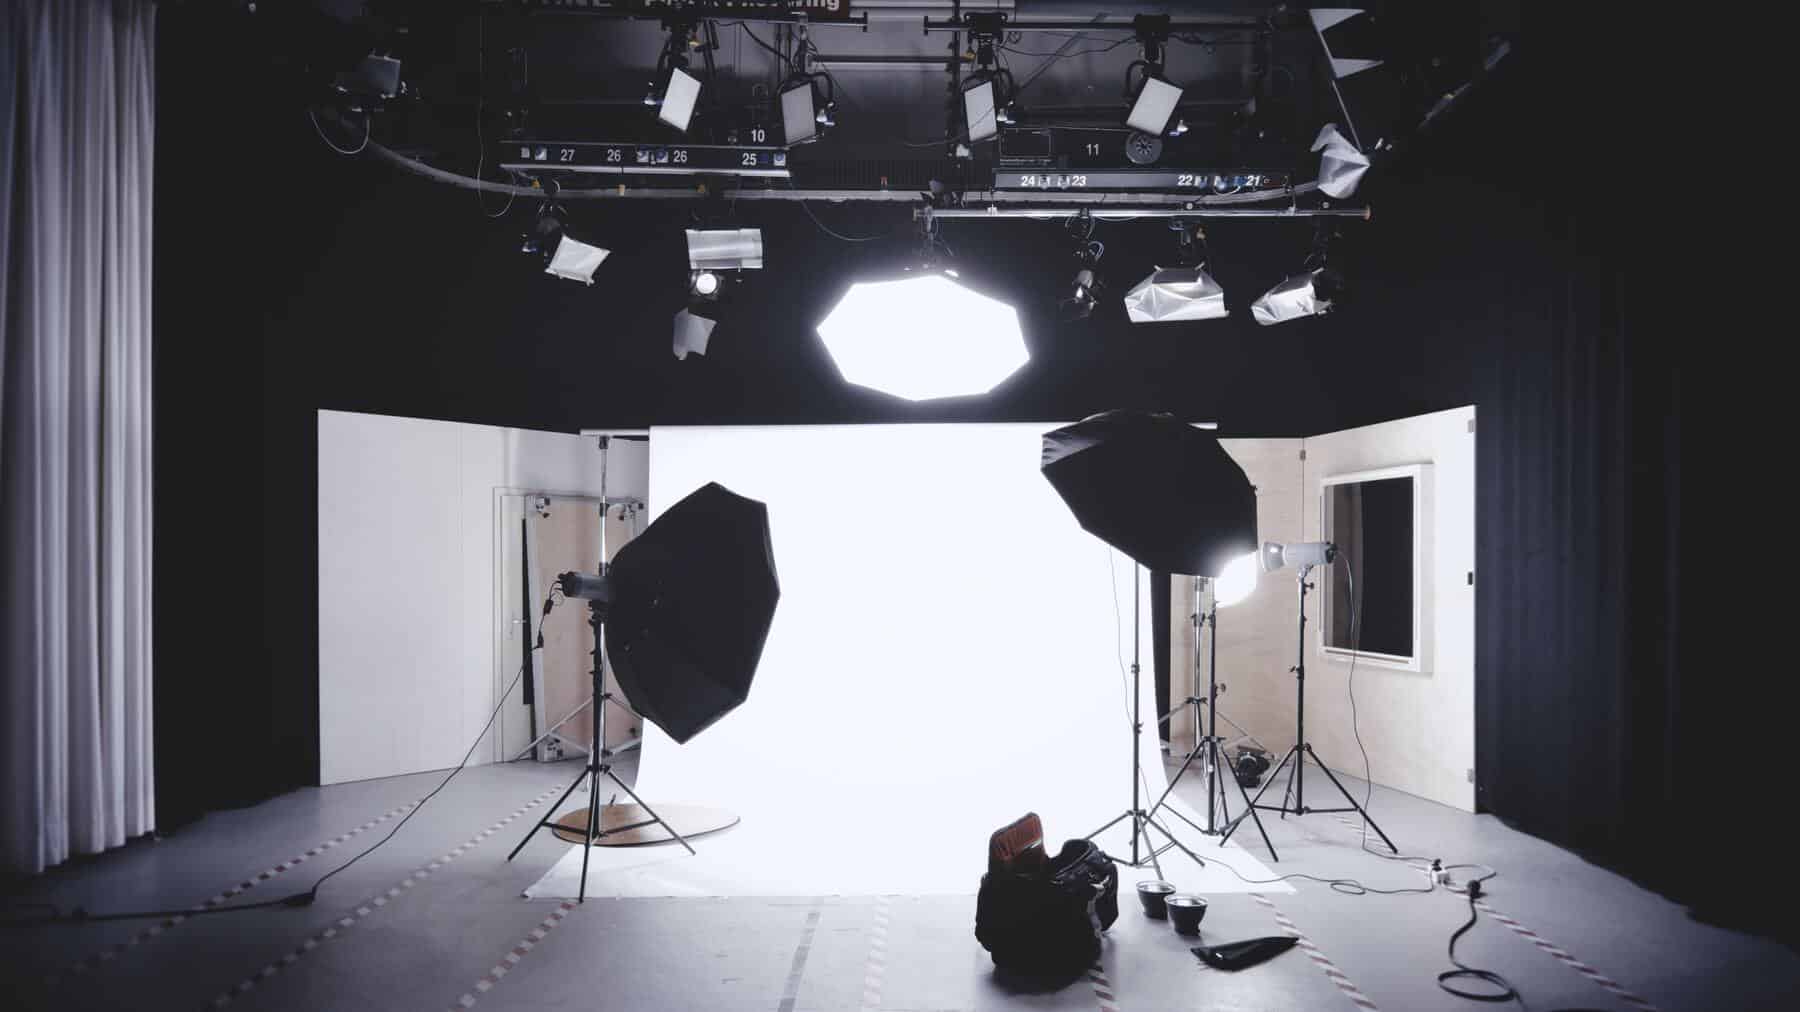
Studio Lighting
1. Start with one light. From there, you can eventually add a fill light, or a hair light, or maybe just a reflector to the one side. Really, keep it simple. Don’t just randomly add more lights – from your test images, figure out what you need to add, or what you need to take away. Until you have the confidence, and can swagger a bit in the studio, make simplicity the key to successful portraits in the studio.
2. Use the modeling lights – because what you see with the house-lights on in the studio, is NOT what you’re going to get in camera when the studio lights fire. The modeling lights will help you previsualize your photos, and help you in positioning your lights – and posing your model.
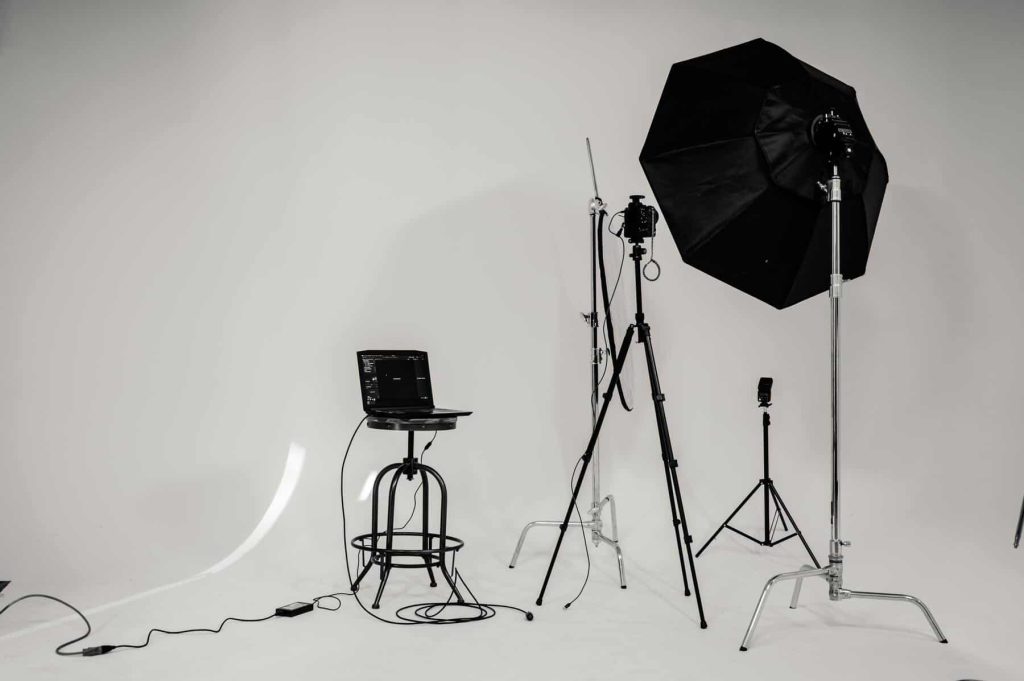
3. Your first decision about light modifiers will hinge around whether you want a large light source giving you softer light, or a smaller light source giving you more contrast light. There are options with either of those two choices, but broadly speaking these are your two main choices – softer light vs more contrast light.
4. Camera settings! This is where the newer photographer in the studio sometimes becomes stuck. Again though, this is not scary. Photographers that shoot on location, will have the idea imprinted that you have to meter for the available light. If you use off-camera lighting outdoors, you invariably take the ambient light into account. However, when you shoot in the studio, you don’t. That’s the primary difference. In the studio, you decide what your camera and flash settings are. You don’t even meter for the ambient light in the studio, since this is usually negligible.
You have to make the decision. You want f/8 as your aperture? Then choose f/8 and change the power of your light (or the position of your light), to give you f/8 at the appropriate ISO setting. Usually you will be shooting at 100 ISO or 200 ISO in the studio. If you shoot in a studio where you use speed lights, you might want to be at 400 ISO. It all depends on what you have. But ultimately, you decide on your camera settings. As simple as that. What do you need?
5. This brings us to the next step – using a light meter in the studio. It’s dead simple. You stand where your model will stand, and point the light-meter at the light, and trigger the light with the remote trigger. Then you change the flash output (or distance), until you get to your chosen camera settings. And your camera settings are? (Hint: whatever you decide on.)
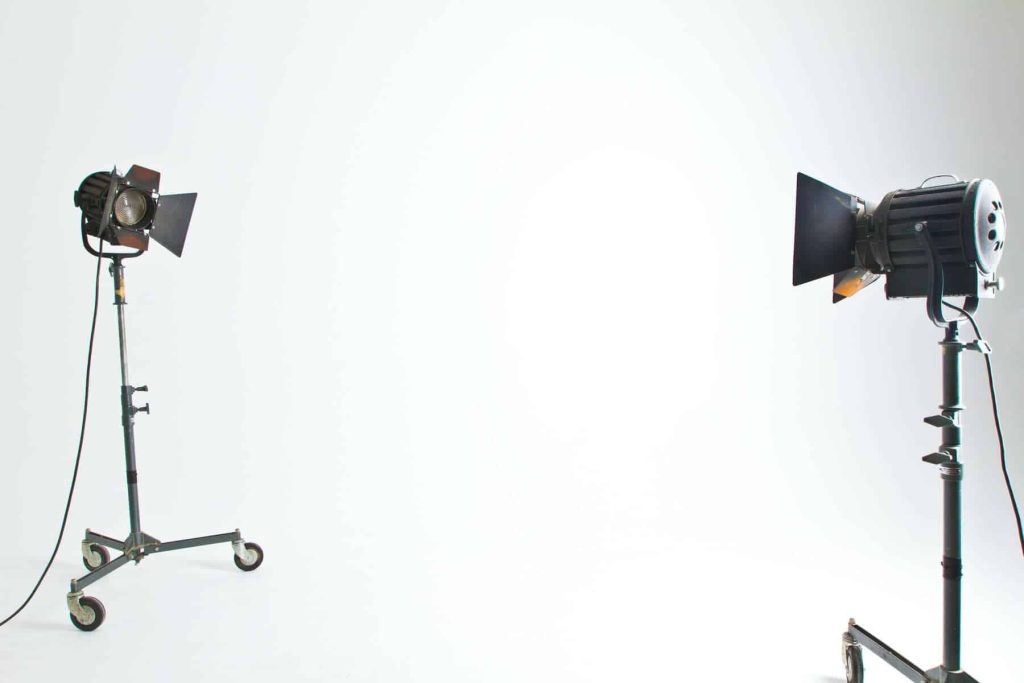
6. Move your lights around between sequences for variety.
Even a small change in the light’s position can make a difference.
7. Posing and lighting are inter-connected. Especially if you use smaller light sources, you have to guide your model in how to pose towards the light. Your models can be more free in their movement if the light source is huge – however, with smaller light sources, their pose or movement has to be done with consideration of the light’s position.
Summary
That’s it! It is that uncomplicated to start shooting in the studio. Of course, as with pretty much any field of photography, there’s a never-ending learning curve from that point onwards. But that’s part of our adventure.

